You know how this goes. The drive ran long, the traffic was bad, and by the time you pulled into camp it was already dark. Now you are standing next to your car, staring into a black wall of trees, and everything that felt organized at home is suddenly just a pile of stuff in the back seat. Your headlamp is somewhere in that pile. Or maybe it is in the tent bag. Or did you pack it in your daypack? This scenario plays out at campsites all over the country every weekend, and it does not have to go sideways.
I have arrived at camp after dark more times than I can count. Some trips by choice because I prefer evening light for the drive, some by accident because the day just got away from me. After enough of these late arrivals I worked out a system that goes from parking to sleeping bag in about 25 minutes, even when I cannot see my hand in front of my face. The system only works, though, if your headlamp earns its keep. I will tell you exactly what I use and why as we go step by step.
If your headlamp died on the last trip, this is the one I carry now
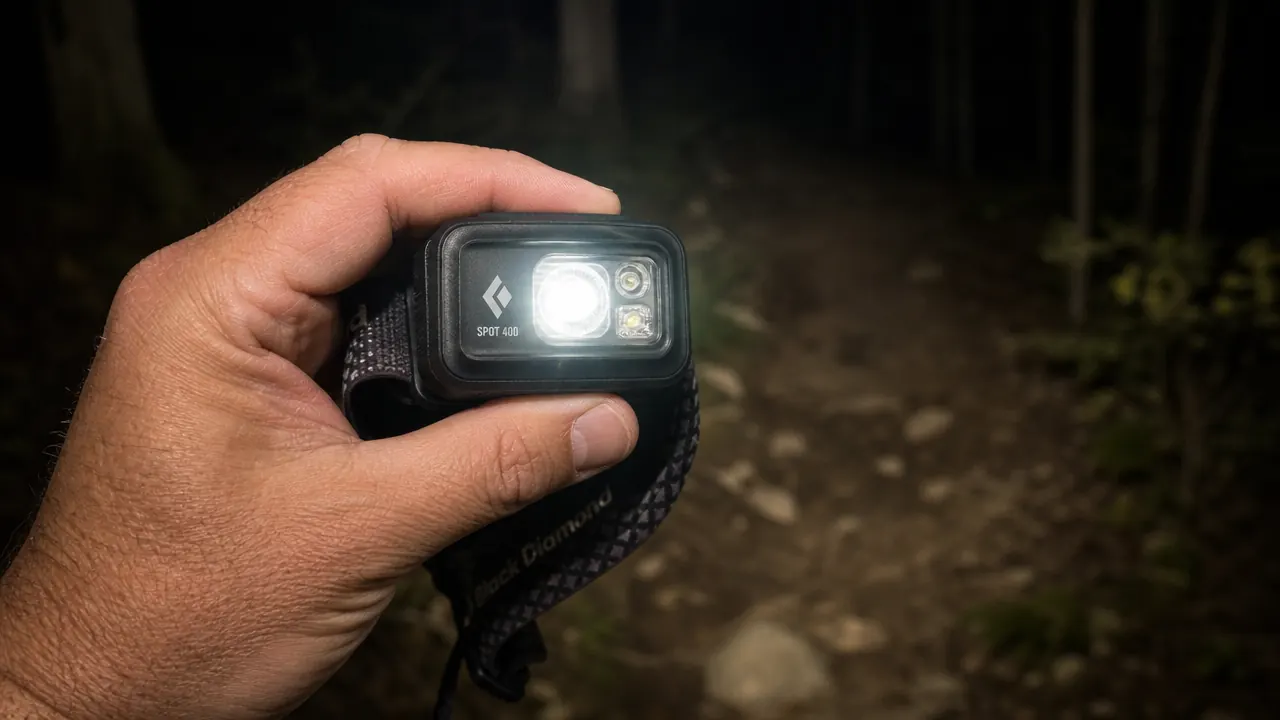
The Black Diamond Spot 400 runs 400 lumens on max, has a single-button lock-out so it never fires in your bag, and charges via USB-C. No more dead batteries at midnight. Check today's price before you read any further.
Amazon Check Today's Price on Amazon →Step 1: Pre-Pack Everything Into a Single After-Dark Kit
The biggest mistake people make is treating after-dark setup as a problem to solve when they get there. It is actually a packing problem you solve at home, before you leave. Dedicate one medium dry sack or stuff sack as your Night Arrival Kit. In it goes: your headlamp (charged), a short extension cord or battery lantern if you use one, a small tarp or footprint, camp shoes, and your tent's stake bag separate from the tent body. Everything you need for the first 20 minutes of arrival, in one place, on top of everything else in your car.
The rule is simple: your Night Arrival Kit rides in the most accessible spot in the vehicle, either the passenger footwell or right behind the driver's seat. You should be able to grab it in the dark without moving anything. When that becomes habit, the moment you park you already have your hands on the only bag that matters for the next half hour.
While you are packing that kit, also take five minutes to practice your tent setup once in your living room or backyard. Sounds basic, but most people only pitch their tent at the campsite, in the dark, while tired. Knowing where the pole sleeves are, which direction the vestibule faces, and how the clips attach means your hands can move on autopilot when your brain is running on empty at 10 PM.
Step 2: Assess the Site Before You Touch a Single Stake
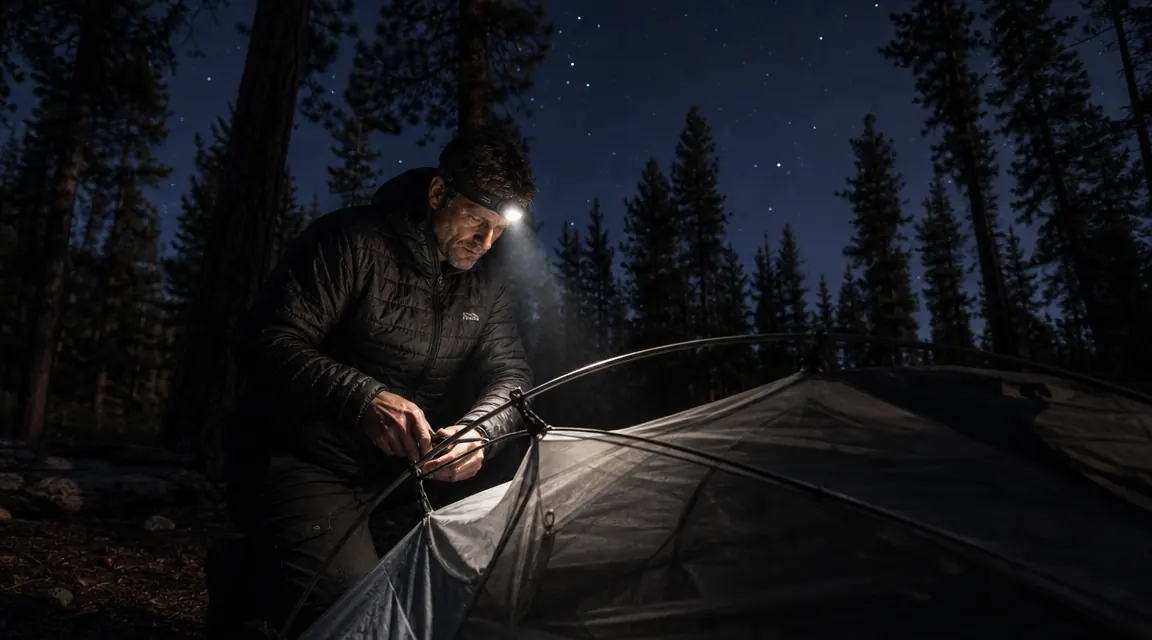
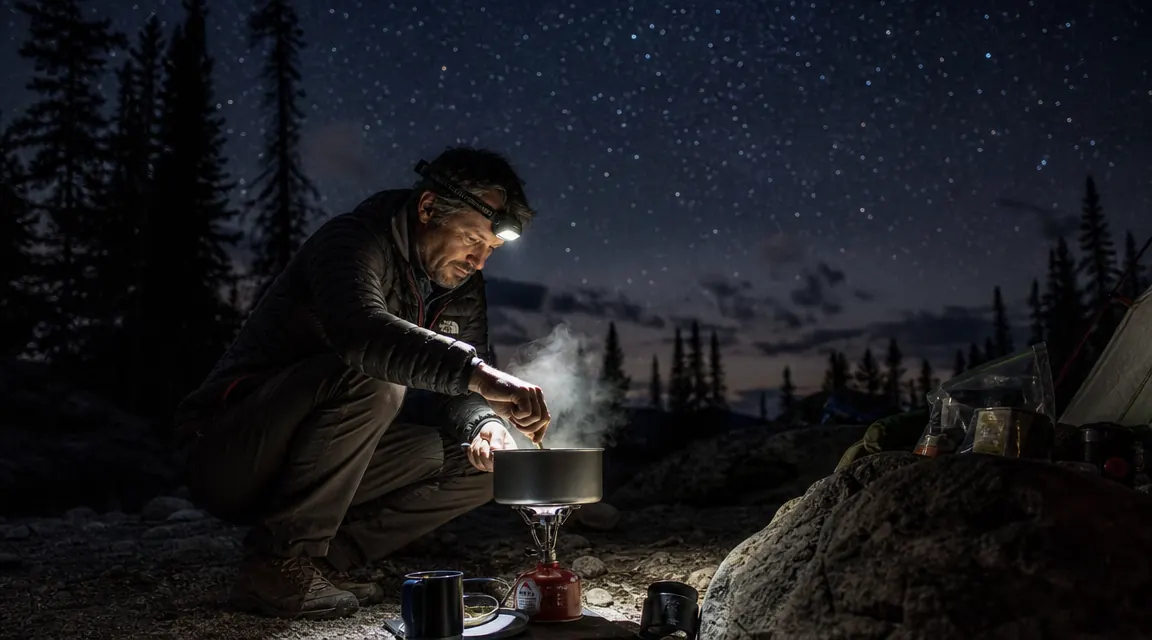
First thing out of the car is your headlamp, strapped on and running. Not your phone flashlight. Both hands need to be free from the moment you step out of the vehicle. With the headlamp on, do a slow 360 of your campsite before you touch anything. You are looking for three things: the flattest sleeping surface, the direction of any slope so drainage runs away from the tent door, and anything that will ruin your night if you do not move it first, like a rock, root, pinecone cluster, or fire ring debris.
This is where lumens genuinely matter. A 30-lumen keychain light will show you what is directly in front of your feet. A 400-lumen headlamp on its wide-flood setting will light up the whole site at once so you can read the terrain in one pass. I use the Black Diamond Spot 400 here on the PowerTap setting, which lets me tap the top of the housing to toggle between full brightness and a dimmer mid-mode. Site survey on full, then down to mid-mode once I know where I am going.
Step 3: Lay Your Footprint, Then the Tent Body
Pull your footprint or tarp out first and lay it flat on your chosen spot. This does two things: it protects the tent floor from abrasion and moisture, and it gives you a clean, visible surface to work on. Think of it as creating a lit stage in the middle of the dark campsite. Any gear you set down on the footprint is visible and findable. Anything you set down off the footprint disappears into the dirt.
Tent body goes on the footprint next, clipped or laid flat in the orientation you already know from that at-home practice run. Stakes come before poles. Staking the corners first gives the tent structure so it does not bunch up or blow around while you thread poles. Set all four corners by feel if you need to, the stake shapes and angles are consistent enough that your hands know what to do once you have done it a few times.
Stakes come before poles. Most people do it backwards in the dark, and then wonder why the tent is lopsided. Stake the corners, then thread. Every time.
Step 4: Thread Poles and Clip the Rain Fly in Low-Light Mode
Once the tent body is staked at the corners, switch your headlamp to a lower brightness, somewhere in the 80 to 100 lumen range. This sounds counterintuitive but it works better for close-up detail work. On maximum brightness, the light bounces back off white tent fabric and pole segments and makes everything washed out. A softer beam lets you see the contrast between the pole sleeve openings and the tent body fabric. Thread poles straight through without stopping halfway to adjust.
Rain fly goes on last, before any other camp tasks. Weather can come in fast at night and you want to be covered before you spend 10 minutes on anything else. Most rain flies have color-coded clip points or webbing loops that match up with the tent's guy-out points. Run a hand along the fly to find those points and clip them down. Stake out the vestibule at minimum so wind cannot get under it and collapse it onto the tent.
If you have a tent partner who arrived with you, one person threads poles while the other clips the fly down. This cuts the tent setup phase to about 8 minutes, which is the benchmark I aim for on a familiar tent. On an unfamiliar tent, budget 15 minutes and do not stress about it.
Step 5: Set Up Your Sleep System Before Any Camp Luxuries
This is the step most people skip and then regret. Before you set up your camp kitchen, your chair, your clothesline, or your cooler station, go directly into the tent and put your sleep system together. Sleeping pad inflated or unrolled, sleeping bag unzipped and open, pillow set. Door unzipped so you can find it easily later. Camp shoes staged at the tent door.
The reason is simple: everything after this step involves touching food, fire, and gear that gets dirtier as the night goes on. If you set up your sleep kit first with relatively clean hands, you sleep clean. And if something unexpected comes up, a sudden rain, a camp neighbor situation, one person feeling sick, you have a bed ready to fall into immediately. I have been at campsites where this mattered at 11 PM and I was very glad I did it in the right order.
What Else Helps
Beyond the five steps, a few other habits pay off consistently on dark arrivals. First, know the red-light mode on your headlamp. Red light preserves night vision, meaning your eyes stay adjusted to the dark and you can actually see the campsite rather than just the cone of light in front of you. The Black Diamond Spot 400 has a dedicated red mode on a separate LED, accessible with a long press. I switch to it once the tent is up and I am doing quieter camp tasks. It also avoids flooding the neighboring site with white light at 10 PM, which your neighbors will appreciate.
Second, use the lock-out feature on your headlamp during the drive and while the light is in your pack. The Spot 400's lock is a simple four-second hold of the power button, and a small LED indicator tells you it is locked. On every headlamp I tested before this one, accidental activation in my bag was the single biggest battery drain. Nothing worse than arriving at camp and finding your headlamp is already at 20 percent. The lock-out feature alone is worth the price of a quality headlamp.
Third, charge your headlamp the day before every trip. Not the week before. The day before. USB-C makes this easy because you are already charging your phone. The Black Diamond Spot 400 takes about three hours to go from empty to full and the battery indicator tells you the charge level before you leave the house. A full charge gets you through a full weekend of evening use without needing to recharge in the field. I have done three-night trips without ever touching the cable.
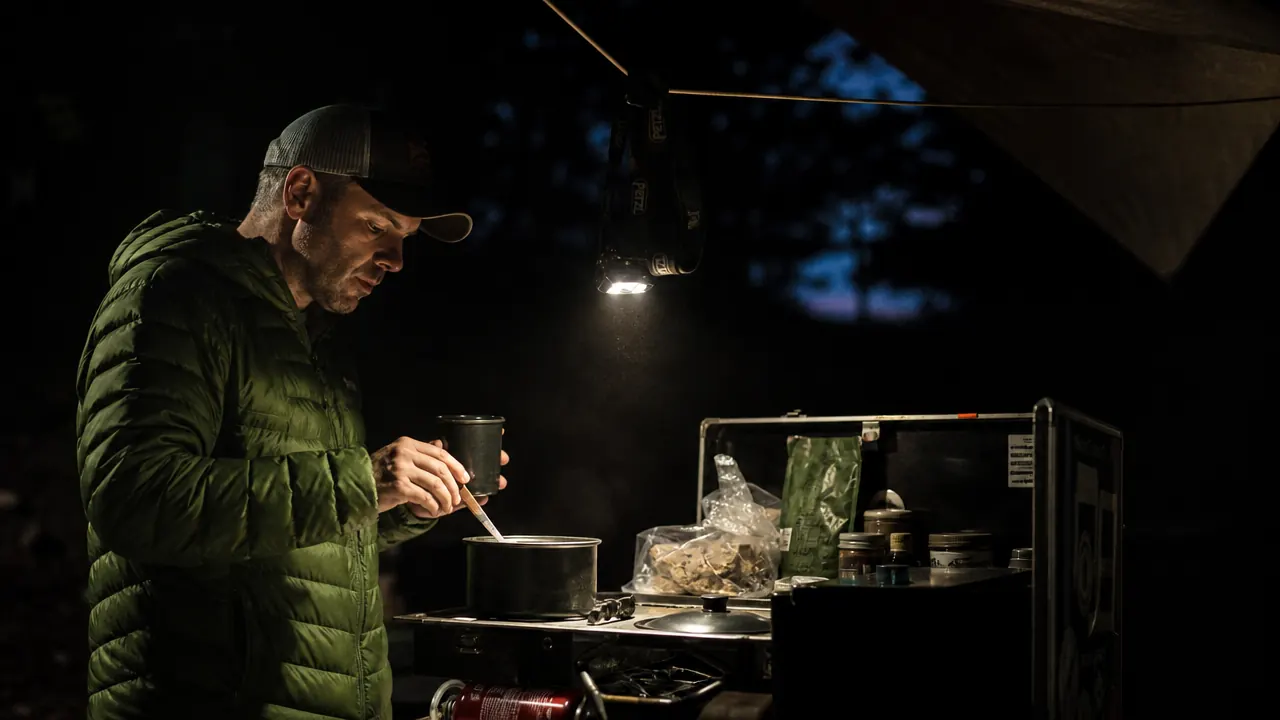
For car camping specifically, a small battery-powered camp lantern placed in the center of your site works well as a secondary light source while you complete tent setup. It provides ambient fill light so the whole site is softly lit rather than just wherever your headlamp is pointing. The headlamp handles detail work, the lantern handles orientation. Between the two, even a pitch-black site with no moon becomes manageable.
Your headlamp is doing more work after dark than any other piece of gear
The Black Diamond Spot 400 is the headlamp I reach for on every trip. Waterproof to IPX8, 400 lumens on max, USB-C charging, red night-vision mode, and a lock-out that actually works. If your current headlamp makes you hesitate on a dark arrival, this is the upgrade that ends that.
Amazon Check Today's Price on Amazon →